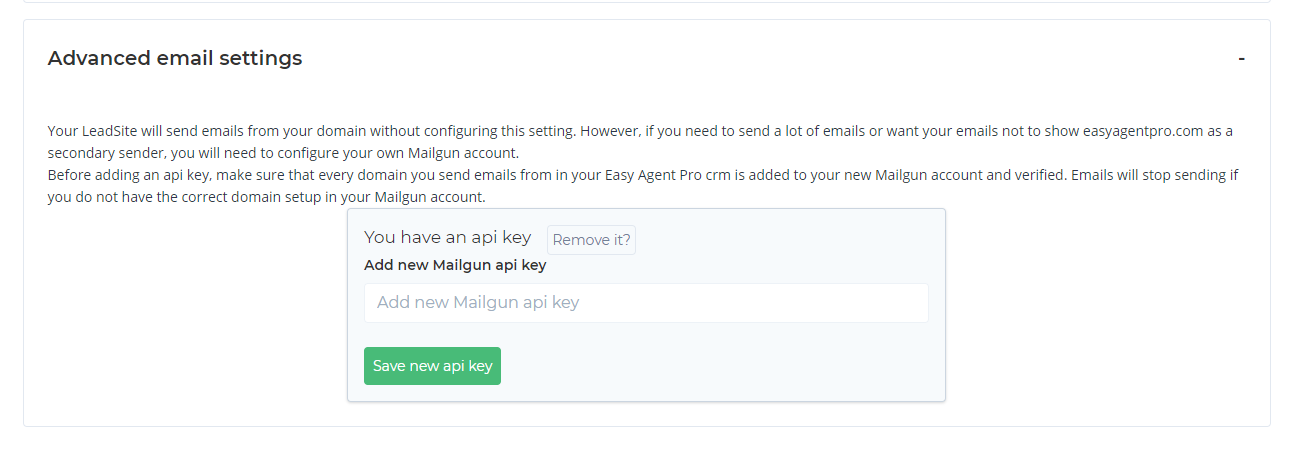
Your LeadSite will send emails from your domain without configuring this setting, however, if you need to send a lot of emails or want your emails not to show easyagentpro.com as a secondary sender, you will need to configure your own Mailgun account. By default, your LeadSite will send from "noreply@easyagentpro.com", and be limited to 200 emails per month.
To change this, you will need to create and link a Mailgun Account:
- Create a Mailgun account (if you don't have one already), and choose your desired subscription tier at the URL below:
-
https://signup.mailgun.com/new/signup
NOTE: Upon signing up, Mailgun will send an email to the address you registered under with an Activation process to confirm your account. This must be completed, or your emails will fail to send. Check the following link for more information:
-
https://signup.mailgun.com/new/signup
- Log into your Mailgun dashboard, and navigate to:
- Sending > Domains > Add New Domain
- Sending > Domains > Add New Domain
- Add your desired domain for usage in CRM email sending.
This will typically be the same as your LeadSite domain, but can be anything you want, as long as you own the chosen domain.- Please note: if you're using a subdomain, subdomains and domains will need to be added independently. For example, sending from "support@easyagentpro.com" and "support@help.easyagentpro.com" are two separate domains.
-
Additionally, do not enter the subdomain "www." with your domain unless you want your email to be "something@www.domain.com"
- Select your domain and click into "Domain Settings" from the left sidebar. From there, scroll down to the Tracking section and change the Tracking hostname to "eapemail" so as not to conflict with any existing DNS records.
- From Domain settings, click on the DNS records tab. Save this page as a PDF and send this file to support@easyagentpro.com, and we will get these added for you as soon as possible!
How to Save this page as a PDF:- Open the DNS records page
- From your browser menu, select File>Print, or press Ctrl+P (Windows)/⌘+P (Mac) on your keyboard
- In the Print options popup, change the Destination to Save as PDF
- Click the Save button and choose the name and location for your PDF
- In the unlikely event that you secure and manage your own LeadSite domain and DNS records, instead of sending us your DNS updates and additions, you will need to perform them yourself, or have your technical support agent do this for you.
-
Please note: if you already have MX records for email sending in your DNS records, DO NOT add the Mailgun MX records for receiving as they will conflict.
- Still in your Mailgun Domain settings, click on the Sending API keys tab, then Add sending Key. Name your key and click Create sending key. Click the copy button to the right of your Sending API key.
NOTE: Before adding an API key, make sure that every domain you send emails from in your Easy Agent Pro CRM is added to your new Mailgun account and verified. Emails will stop sending if you do not have the correct domain setup in your Mailgun account.
- Log into your LeadSite's dashboard and go to:
CRM > CRM Settings > Advanced email settings
Click + to open the section, paste your API Key into the Add new Mailgun api key text box, then click Save new api key.
- After you've added your API key and received email confirmation from Easy Agent PRO Support that your DNS updates are complete, you can open + the Email section of your CRM Settings and add your desired sending email address(es).
Since Mailgun can only send email and cannot receive incoming emails or replies, we recommend choosing something like "no-reply@yourdomain.com" as your Default email address.