This support article covers the drip campaign feature of the Easy Agent Pro CRM. Leadsite owners can build email and text campaigns for captured leads. To access this feature follow the steps below:
Drip Campaign Menu
Click the "Campaigns" button.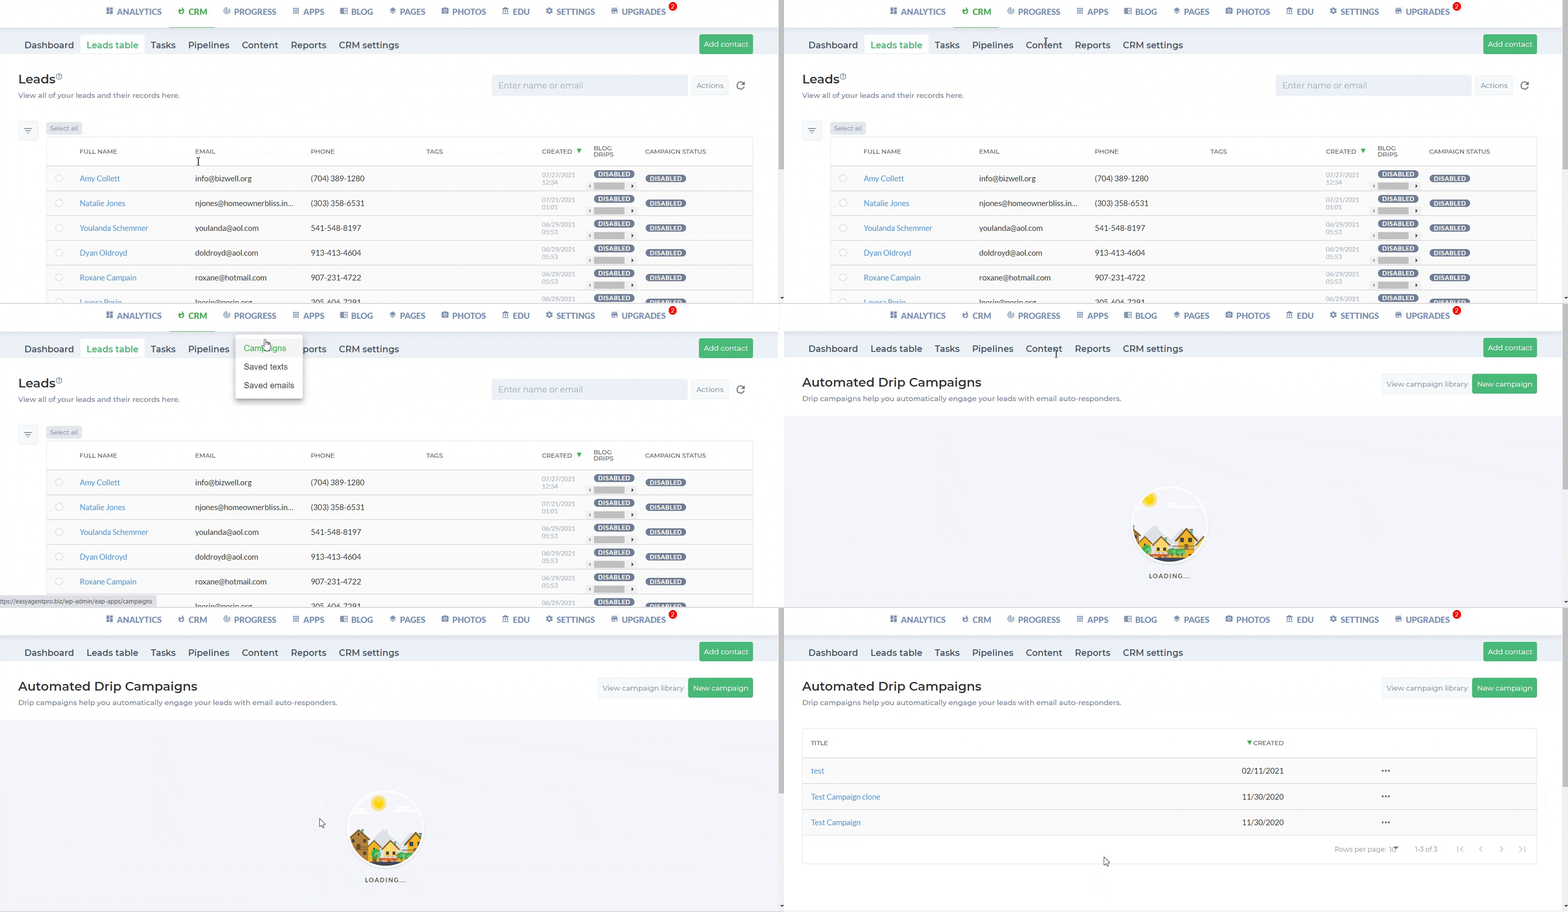
The drip campaign dashboard will open. Email/text message templates and campaign structures can be created from this menu.

Creating a Campaign
- Click the "New campaign" button in the upper right corner and the structure menu will appear.
- Click the "plus" button to open the campaign items menu:
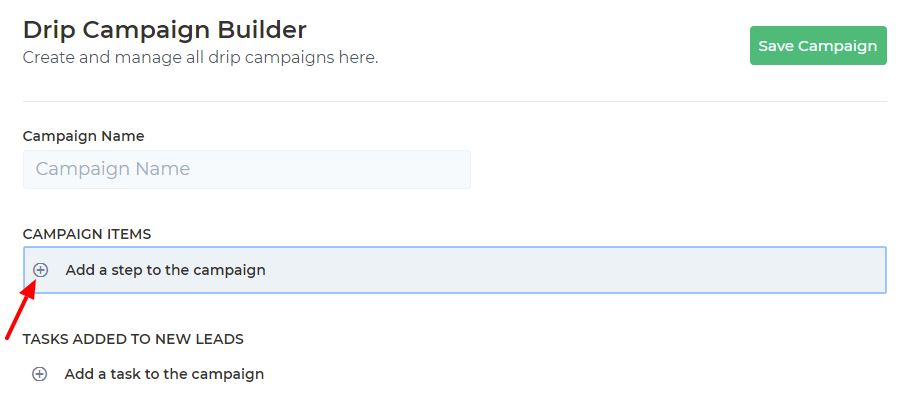
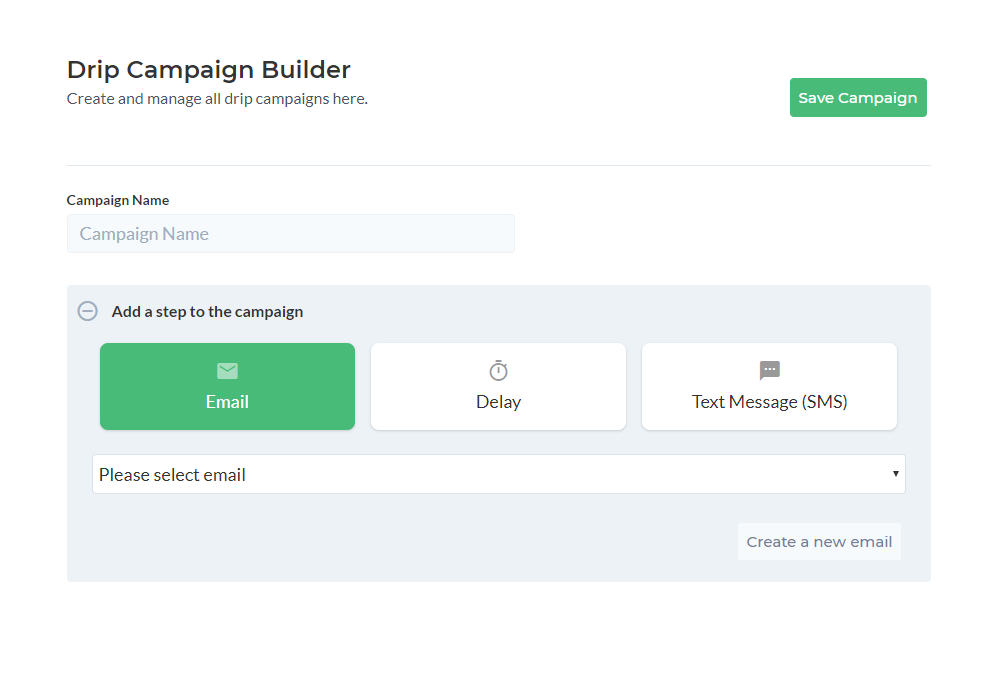
- Select an email or text message in the dropdown. Note: emails and text messages need to be created prior to this step. To create either one, click the "create a new email" button.


- Set a delay. This feature determines how long the campaign waits before sending another message (email or text).
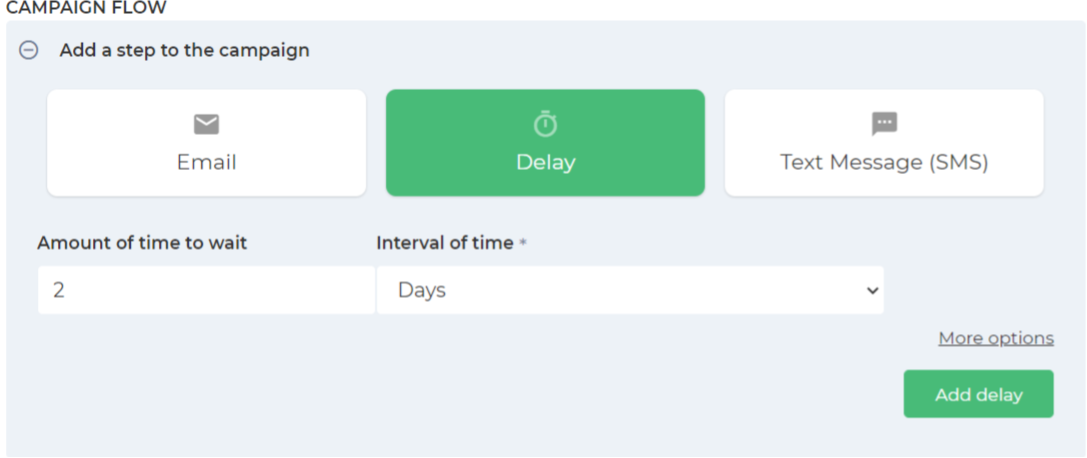
Creating custom delays with the "More options" button. The type of period (days, hours minutes) and the length can be adjusted. Send time and Time Zone can also be customized.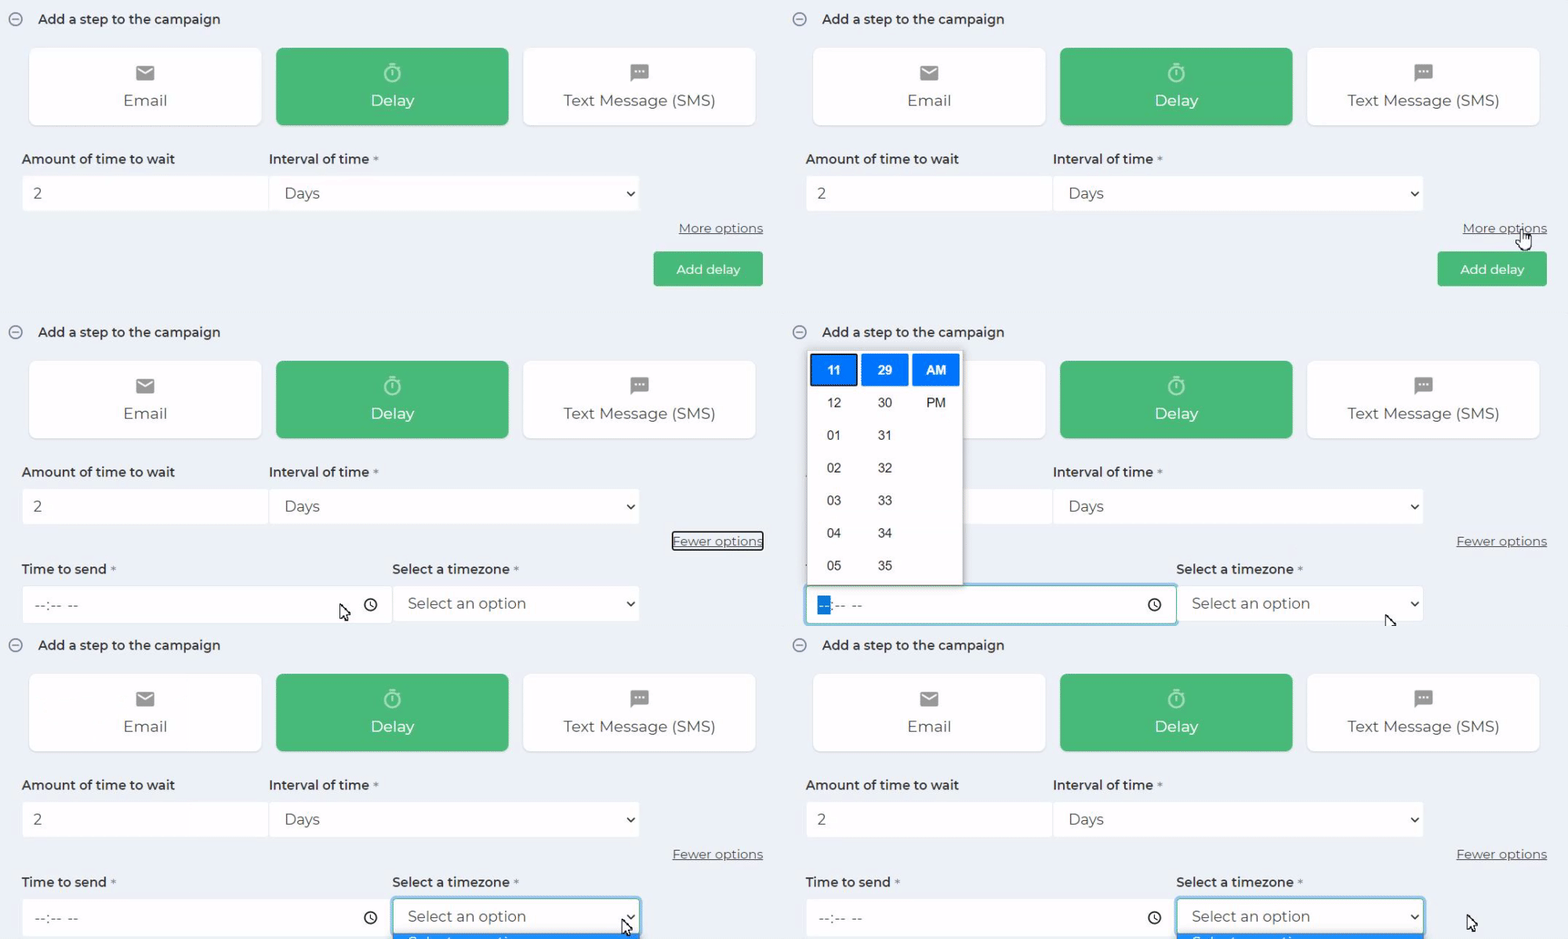
- After creating the desired number of messages (emails and text) and delays. Click the "Save Campaign" button in the top right-hand corner.

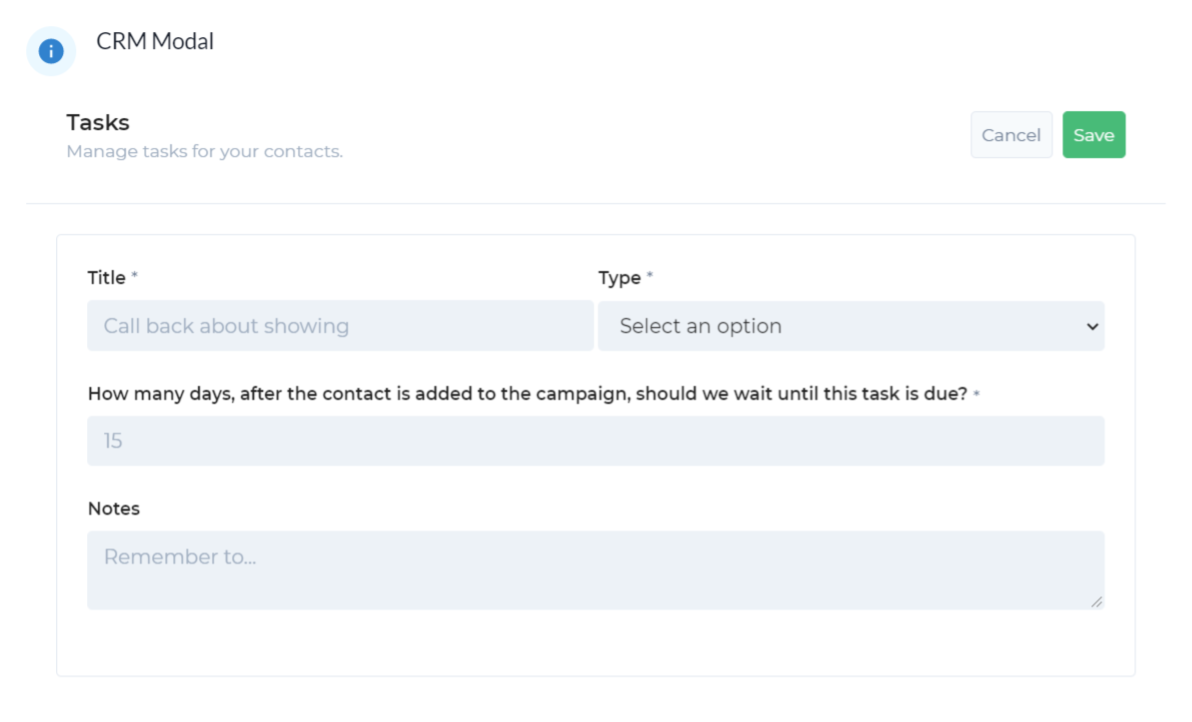
- (Optional) Assign a follow-up task(s) to complete once a lead is added to a campaign. Multiple tasks can be created. Select the type of task from the drop-down at the bottom of the menu.
Drip Campaign Example
The images below are an example CRM campaign. Items within a campaign can be dragged and dropped into different orders.
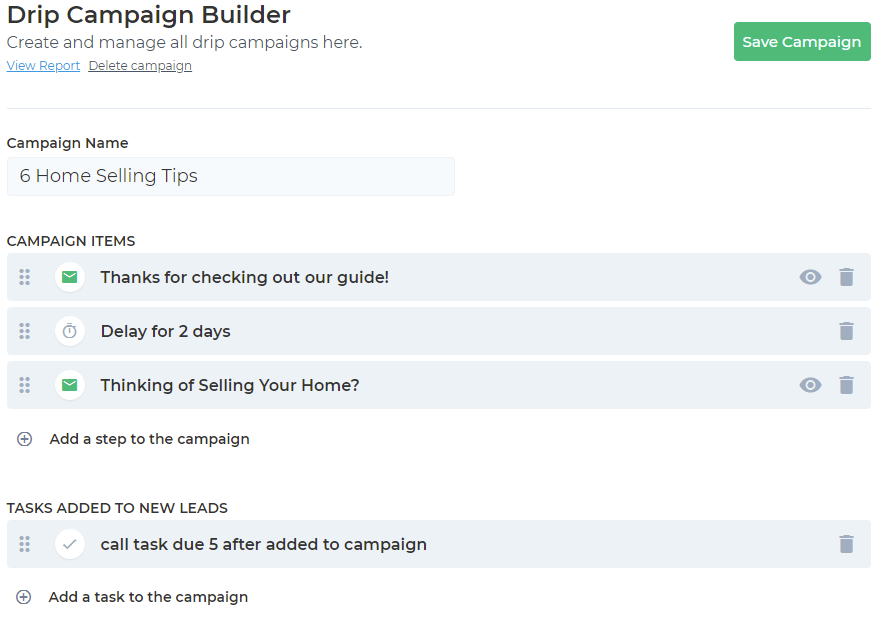
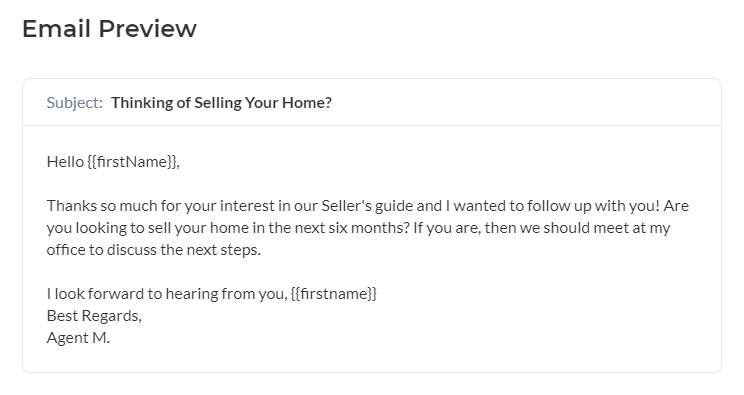
Emails used in this campaign: 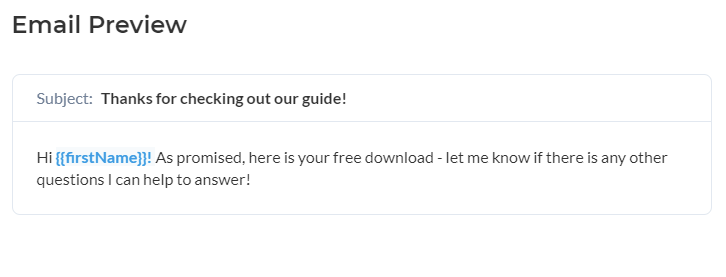
The Task used in this example. Note: tasks cannot be edited once it is created. 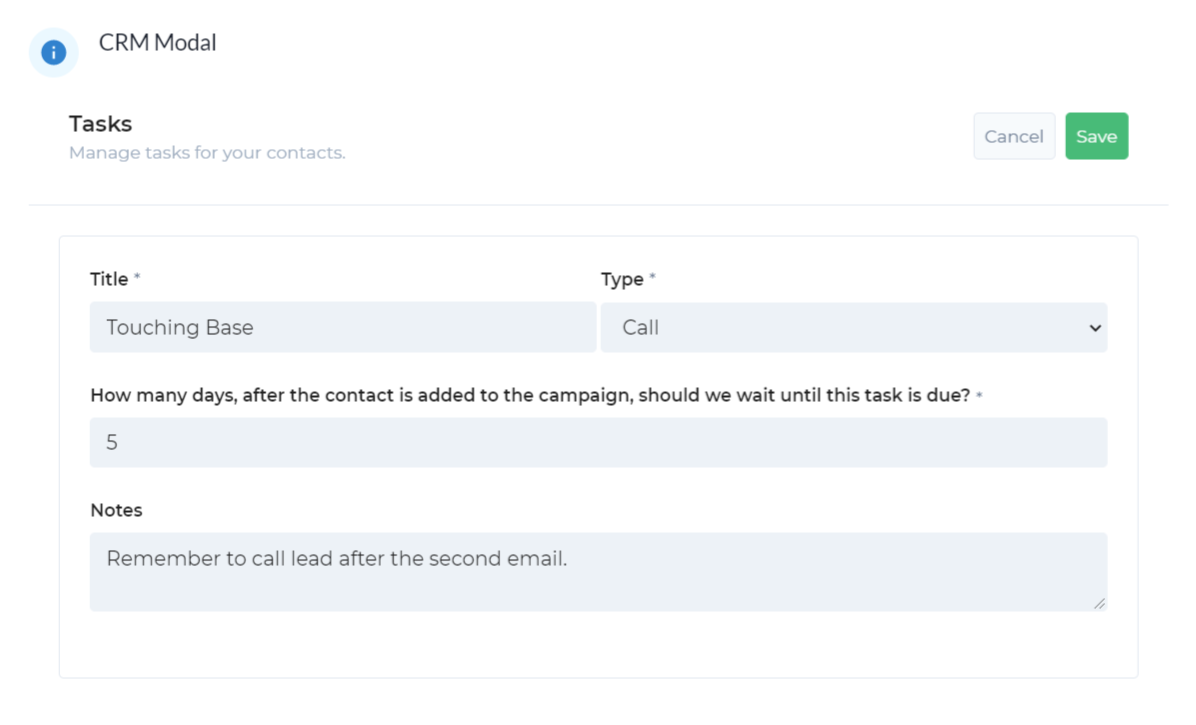
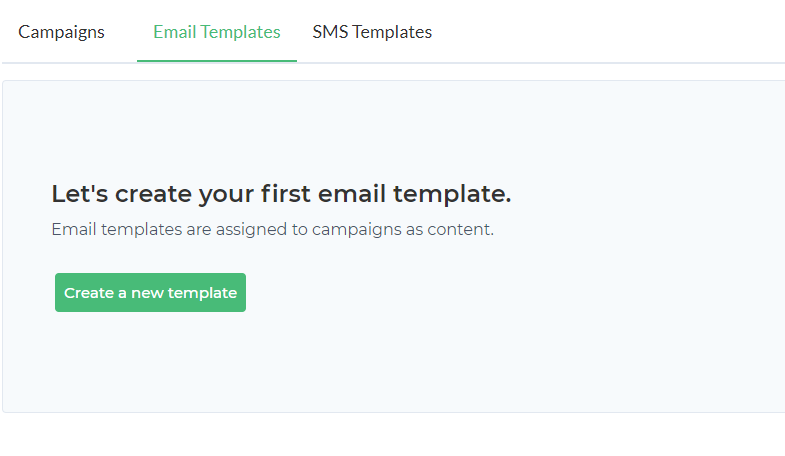
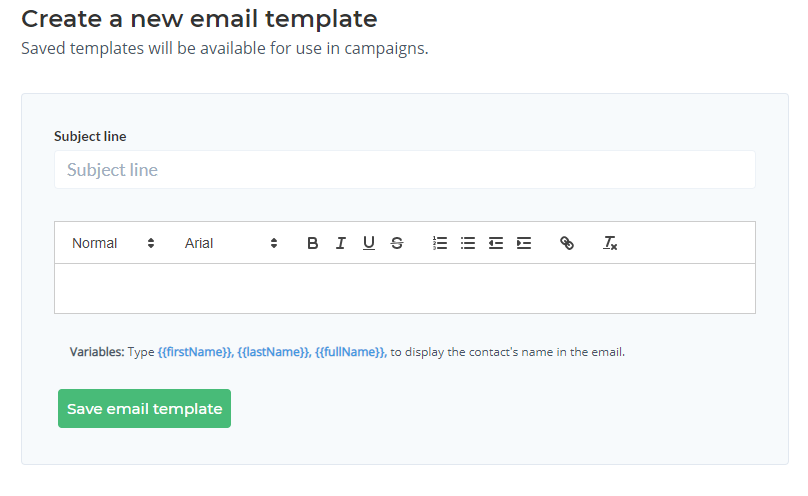
- Email Templates - create emails to use in drip campaigns.
- SMS Templates - created text message templates to use in drip campaigns.
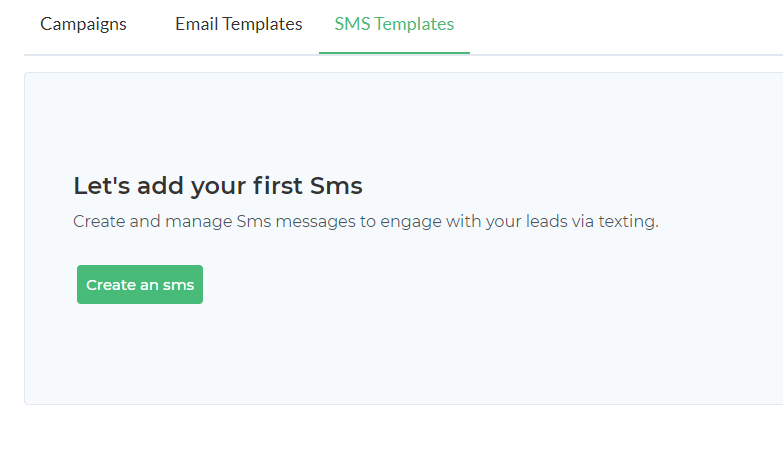
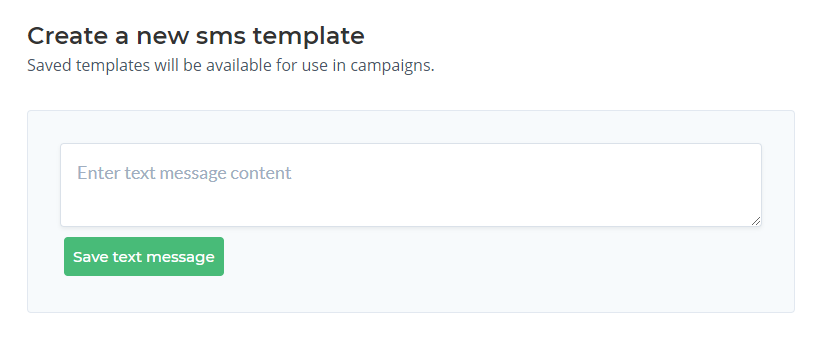
Note: Email and text templates need to be created before they can be used in a drip campaign.
